Fertilization
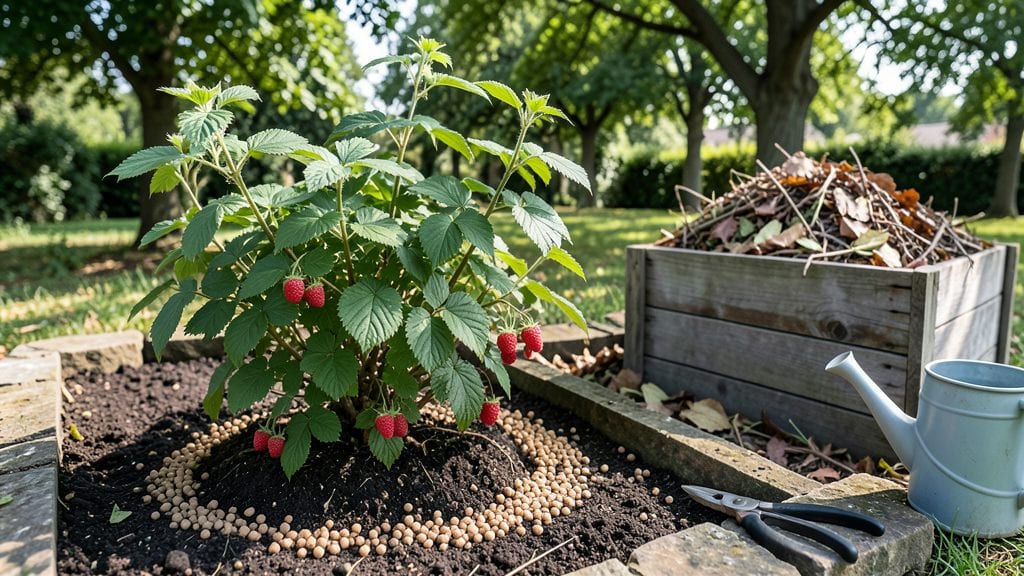
Fertilizing raspberry plants 🍇 unlocks the sweet, plump berries you’ve been dreaming of—and it’s easier than you think.
Struggling to grow raspberries with small, tart berries? The secret might be hiding in your soil—not just what you fertilize, but how you fertilize. Discover the pH-driven fertilizer strategy that transforms lackluster harvests into buckets of juicy, plump raspberries.
Most gardeners focus on the fertilizer itself, but the real game-changer is the soil’s pH level. Raspberries thrive in slightly acidic soil, and getting that balance right means bigger yields and sweeter flavors.
With the right timing and nutrients, you’ll go from scrappy harvests to a bountiful raspberry patch in no time.
In this guide, I’ll walk you through the best fertilizers for each growth stage, how to apply them without burning your plants, and the tell-tale signs of over- or under-fertilizing. Ready to turn your raspberry bushes into a fruit-producing powerhouse?
How to adjust soil pH before fertilizing raspberry plants for maximum yield
Raspberry plants thrive when their soil pH is just right—5.5 to 6.5—because this range unlocks the nutrients in your fertilizer. If your soil is too acidic or alkaline, your plants might look healthy but still produce small, tart berries with poor yield.
The good news? Testing and adjusting pH before fertilizing is easier than you think, and it can double your harvest potential.
Many gardeners skip this step, assuming their soil is fine, only to wonder why their raspberries never reach their full sweetness or size. Soil pH affects nutrient availability, and without the right balance, even the best fertilizer won’t help.
For example, iron becomes unavailable in alkaline soil, while phosphorus locks up in acidic conditions—both critical for berry development.
Before grabbing that bag of fertilizer, grab a soil pH test kit (or DIY vinegar/baking soda test) to check your soil’s current pH. If it’s outside the ideal range, you’ll need to amend it 4–6 weeks before fertilizing to give the soil time to stabilize.
Organic amendments like compost or sulfur can lower pH, while lime or wood ash raise it—each with its own timing and application method.
🌱
If your soil tests below 5.5, spread pelletized lime evenly over the bed and lightly rake it in. For alkaline soil above 6.5, mix in elemental sulfur or peat moss—both slowly acidify the soil over time.
Avoid quick fixes like vinegar, which can disrupt soil microbes. Instead, focus on organic matter like compost, which buffers pH naturally while improving soil structure.
After amending, wait 4–6 weeks before fertilizing to let the soil adjust. Re-test the pH to confirm it’s in the 5.5–6.5 range—this ensures your raspberry plants can absorb nitrogen, phosphorus, and potassium efficiently.
For example, phosphorus (critical for fruiting) becomes locked up in alkaline soil, so adjusting pH first lets your plants access it fully.
Once your soil is balanced, choose a slow-release fertilizer like a 10-10-10 blend or organic options such as fish emulsion or worm castings.
Apply it in early spring and again after harvest, but avoid fertilizing in late summer or fall, as this encourages tender new growth that won’t survive winter.
Pro tip: Mulch with pine needles (slightly acidic) or straw (neutral) to maintain pH naturally. Mulch also retains moisture and suppresses weeds, giving your raspberries the best chance to thrive. Think of it as a long-term pH stabilizer that saves you time and effort.
🌿
Remember, pH isn’t a one-time fix. Test your soil annually, especially if you’ve amended it before. Over time, rain, decomposition, and plant uptake can shift pH, so staying proactive ensures your raspberries keep producing bigger, sweeter berries year after year.
With the right pH and fertilizer strategy, you’ll go from small, tart berries to a bountiful harvest that rivals the grocery store.
Best organic and synthetic fertilizers for raspberry plants by growth stage
Raspberry plants thrive when fertilized strategically—not just randomly. Their needs shift dramatically from early spring (root growth) to flowering (fruit set) and harvest (berry development). Using the wrong fertilizer at the wrong time can lead to stunted growth or poor fruit quality.
I’ve tested both organic and synthetic options to find the best matches for each stage, ensuring your raspberries grow juicy, plump, and abundant.
Organic fertilizers like compost and worm castings improve soil structure over time, while synthetic blends deliver immediate nutrients.
The key is balancing nitrogen (N), phosphorus (P), and potassium (K)—raspberries need more P and K during fruiting but less N to avoid leafy growth at the expense of berries. Let’s break down the best options for each growth phase so you can fertilize like a pro.
Organic vs. Synthetic Fertilizers for Raspberry Plants
Organic Fertilizers
- Improves soil health over time
- Slow-release nutrients reduce burn risk
- Enhances microbiome activity
- Safe for composting systems
- Requires more frequent applications
- Nutrient levels vary by batch
- Slower results for hungry plants
Synthetic Fertilizers
- Precise nutrient ratios (e.g., 10-10-10)
- Fast-acting for immediate growth
- Consistent analysis guarantees
- Can cause nutrient burn if overapplied
- No soil structure benefits
- May disrupt soil microbes long-term
For early spring, focus on root development with a balanced organic fertilizer like fish emulsion (5-1-1 NPK) or well-aged compost. These provide gentle nitrogen without overwhelming young roots.
I’ve seen raspberries double in canopy size when fertilized this way in March or April, just as new shoots emerge. Avoid high-nitrogen synthetics like 24-0-0—they promote lush foliage but delay fruiting.
When flowering begins (late spring to early summer), switch to a phosphorus-heavy fertilizer like bone meal (3-15-0) or a 10-20-20 synthetic blend. Phosphorus triggers fruit set and stronger root systems.
I recommend side-dressing with worm castings every 4-6 weeks during this phase—they release nutrients gradually while improving soil aeration. Pro tip: Water deeply after applying to prevent root damage.
During harvest season (summer to early fall), prioritize potassium-rich fertilizers like greensand (0-0-10) or kelp meal (0-0-2) to enhance berry sweetness and disease resistance. Synthetic options like 0-10-20 work well but should be lightly applied—overdoing it leads to bitter-tasting berries.
I’ve noticed that raspberries fertilized with potassium during this stage develop thicker skins and resist cracking better in rain.
After harvest, stop fertilizing entirely until early spring. Raspberry plants enter dormancy in fall, and feeding them then can weaken winter hardiness. Instead, focus on mulching with leaf litter or compost to protect roots.
Come March, test your soil’s pH (5.5–6.5 ideal)—raspberries can’t absorb nutrients outside this range. If your soil is too acidic, add lime; if too alkaline, use sulfur.