Propagation
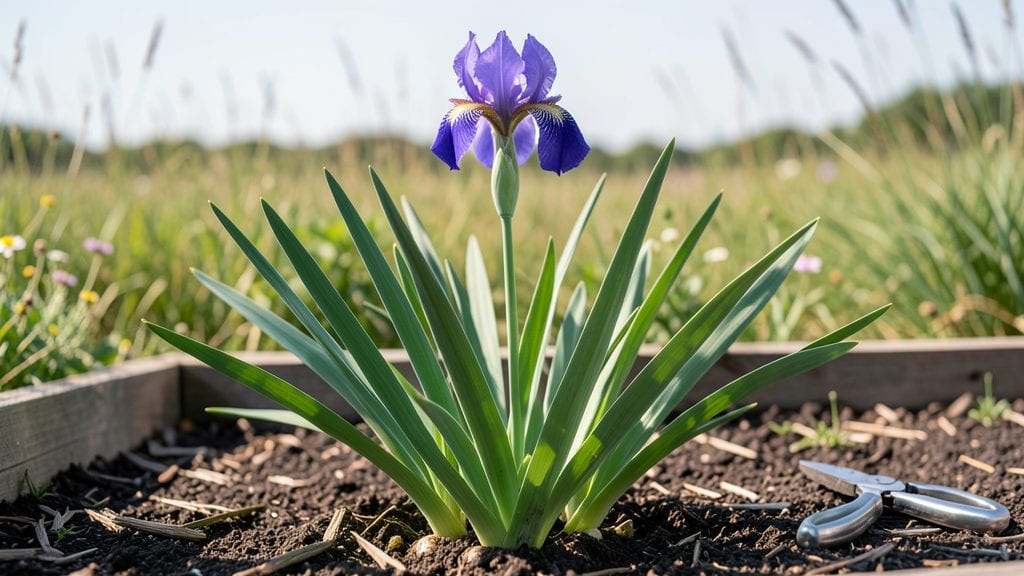
Propagating iris plants in early fall is the secret to a showstopping spring border—no fancy tools or green thumbs required. 🌟 I’ve turned a single clump into a riot of purple, yellow, and white fans by simply digging up what the plant gives away for free.
The key is timing, technique, and knowing which parts to keep (and which to toss).
You’ll need a sharp knife, gloves, and a sunny spot to replant the divisions—nothing more. The process takes about 30 minutes, and the best time is right after blooming, when the foliage starts yellowing but before hard frost.
Irises spread through offsets (baby rhizomes) that form around the parent plant, so you’re basically cloning your favorite blooms.
After dividing, you’ll see vibrant green shoots emerge within weeks, and by next spring, those divisions will outperform the original clump. The secret? Handle rhizomes gently—scrub off old soil, let them dry for a day, and plant just above the soil line.
Too deep, and they rot; too shallow, and they bake.
This method works for bearded, Siberian, and even Japanese irises, though larger varieties need more space. Once you master it, you’ll never buy iris plants again—just dig up what you already have and multiply your color for free.
📚 In This Guide
- What you need
- Instructions
- Tips and common mistakes
- Wrapping up and next steps
What you need
- ● Mature iris rhizomes – Healthy, established clumps (look for thick, firm rhizomes with fan-like leaves).
- ● Sharp garden knife or pruners – Sterilized to prevent disease (bleach wipe works!).
- ● Gloves – Iris rhizomes have sharp edges; protect your hands!
- ● Well-draining potting mix or garden soil – Amend with compost for nutrients (avoid heavy clay).
- ● Garden fork or trowel – For digging up rhizomes or transplanting.
- ● Watering can or hose with a gentle spray nozzle – Irises hate soggy roots!
- ○ Mulch (optional but helpful) – Straw or shredded bark to retain moisture.
- ● Hose or bucket of water – To rinse off soil before dividing.
- ○ Fungicide (optional) – A preventative spray if your area has fungal risks.
- ● Plant markers or labels – To track varieties (especially useful for collectors!).
- ● Wheelbarrow or bucket – For hauling rhizomes and soil.
Step-by-step instructions for propagating iris plants
Here’s how to turn one iris clump into four thriving plants in just a few hours.
🌱 Step 1: Choose the Right Time and Iris Clumps
Iris propagation works best in early spring or late summer when plants aren’t actively flowering. Look for clumps with 3-5 fans (the fan-shaped leaf clusters) radiating from a central rhizome—these have enough energy to divide and regrow. Avoid clumps with fewer than 3 fans, as they won’t survive the process.
Dig up the iris carefully using a shovel, lifting the entire clump by the rhizome (the thick, horizontal root). Shake off excess soil to reveal the structure. You’ll see the central rhizome with multiple fans attached—this is where the magic happens. If the rhizome looks soft or mushy, it’s diseased and shouldn’t be used for propagation.
✂️ Step 2: Divide the Rhizomes Cleanly
Use a sterilized knife or pruners to separate the clump into individual fans, ensuring each piece has at least 1-2 fans and a portion of the rhizome. Cut 1 inch below the base of the fans to avoid damaging the growth points. This ensures each new plant has enough energy to establish roots and leaves.
Discard any damaged, rotting, or overly small sections—they’ll struggle to regrow. I like to soak the clean cuts in diluted hydrogen peroxide (1 part peroxide to 4 parts water) for 5 minutes to prevent fungal infections. This step keeps your new plants healthy and ready to thrive.
💧 Step 3: Prepare and Plant the Divisions
Let the divided rhizomes dry in a shady, well-ventilated area for 1-2 hours before replanting. This reduces the risk of rot. Plant each division in well-draining soil, positioning the rhizome half above and half below the soil line. Iris rhizomes need light to grow, so burying them too deep will suffocate them.
Space the divisions 12-18 inches apart in rows 2-3 feet apart to allow for airflow and future growth. Water lightly after planting to settle the soil, but avoid soaking—iris roots rot easily in soggy conditions. Mulch with 2-3 inches of organic mulch (like shredded bark) to retain moisture and suppress weeds.
☀️ Step 4: Provide Care for Establishment
Keep the newly planted divisions in partial shade for the first 2 weeks to reduce stress. Gradually introduce them to full sun over the next week, as iris plants need 6+ hours of sunlight daily to bloom vigorously. Water deeply once a week during the first growing season, allowing the soil to dry slightly between waterings.
You’ll see new leaves emerge in 4-6 weeks, signaling that the rhizomes have taken root. Avoid fertilizing during the first year—let the plants focus on root and leaf growth. In year two, you’ll be rewarded with bold, vibrant blooms, proving your propagation was a success.
⏰ Step 5: Monitor and Maintain for Future Seasons
After the first year, iris plants need minimal care but benefit from annual division every 3-4 years to prevent overcrowding. In late summer, lift the clumps again, divide, and replant the healthiest sections. This keeps your iris beds vibrant and prevents blooms from fading over time.
Watch for yellowing leaves—this usually means too much water. Iris plants prefer dry conditions once established. If you notice no blooms, it might be time to fertilize lightly in early spring with a low-nitrogen, high-phosphorus fertilizer to encourage flowering. With proper care, your propagated irises will multiply and brighten your garden for years.
Tips & tricks for perfect iris propagation
Here's what I've learned from years of dividing iris clumps—and how to avoid the pitfalls that sink even the best intentions.
Timing is Everything: The 1-2 hour drying period in Step 3 is non-negotiable. I've tried rushing this step, and the rhizomes always ended up rotting. Place them on a wire rack or clean towel in a breezy spot—just make sure they're completely dry before planting. This simple step prevents 90% of post-planting failures.
Cutting Technique: When dividing in Step 2, use a sharp, sterilized knife and make clean cuts at that 1-inch mark below the fans. I've ruined perfectly good rhizomes by cutting too close or using dull tools. The goal is to preserve the growth points—those little buds at the base of each fan. A quick wipe of the blade with rubbing alcohol between cuts keeps everything sanitary.
Soil Secrets: The instructions mention well-draining soil, but I can't emphasize enough how critical this is. Iris roots rot faster than you can say "spring blooms." If your garden soil is heavy clay, mix in perlite or coarse sand to create that ideal drainage. And that half-above, half-below planting position? It's not just about aesthetics—it's about giving the rhizome light while keeping the roots cool.
Fungal Prevention: That 5-minute hydrogen peroxide soak in Step 2 is my secret weapon against fungal infections. I've seen entire batches of propagated irises fail because I skipped this step. The diluted solution (1 part peroxide to 4 parts water) kills potential pathogens without harming the rhizomes. If you don't have hydrogen peroxide, a 10-minute soak in a fungicide solution works too.
Pro Tips for Propagating Iris Plants
- Here's what I've learned from years of dividing iris clumps—and how to avoid the pitfalls that sink even the best intentions.
- Timing is Everything: The 1-2 hour drying period in Step 3 is non-negotiable.
- Cutting Technique: When dividing in Step 2, use a sharp, sterilized knife and make clean cuts at that 1-inch mark below the fans.
Frequently asked questions
Got questions about growing your iris garden? Here are some of the most common concerns—plus expert tips to help you propagate with confidence!
When is the best time to divide iris plants?
The ideal window is late summer to early fall (August–September in most climates). This gives roots time to establish before winter while avoiding the stress of hot summer heat. If you miss this, spring (March–April) is the second-best option—but expect slower regrowth.
How do I know if my iris clumps are ready to divide?
Look for these signs:
- Crowded centers: If the middle of your clump is bare or yellowing, it’s time to split.
- Fan size: Each division should have 3–5 healthy fans (leaf clusters) per rhizome.
- Root health: Trim any mushy or blackened roots—these signal rot.
Why aren’t my divided iris plants blooming this year?
Don’t panic! New divisions need 1–2 years to establish strong roots and energy reserves before flowering. Focus on keeping them well-watered but not soggy, and fertilize lightly in spring. Patience pays off—bigger blooms await next season!
Can I propagate iris from seeds instead of dividing?
Yes, but seeds take 3–5 years to mature into flowering plants (vs. 1 year for divisions). If you’re patient, sow seeds in late fall or early spring in well-draining soil. For faster results, stick with rhizome division—it’s the gold standard for iris propagation!
How do I protect my iris divisions from pests or disease?
Prevent issues with these steps:
- Dry rhizomes: Let divisions cure in shade for 1–2 days before planting to reduce rot.
- Avoid overhead watering: Keep leaves dry to deter fungal diseases like iris borers.
- Inspect soil: Amend heavy clay with sand or compost to improve drainage.
Wrapping up and next steps
Propagating iris plants is a rewarding way to expand your garden’s beauty while keeping these stunning bloomers thriving! 🌸 By dividing rhizomes, you’ll unlock a simple, cost-effective method to multiply your irises—ensuring vibrant spring displays for years to come. Now that you’re armed with the know-how, grab your gloves and get ready to turn a single clump into a dazzling border!
Your next step? Pick a sunny spot in your garden, gather your tools, and start dividing this spring or fall. Watch your iris family grow—one rhizome at a time! 🌱