Propagation
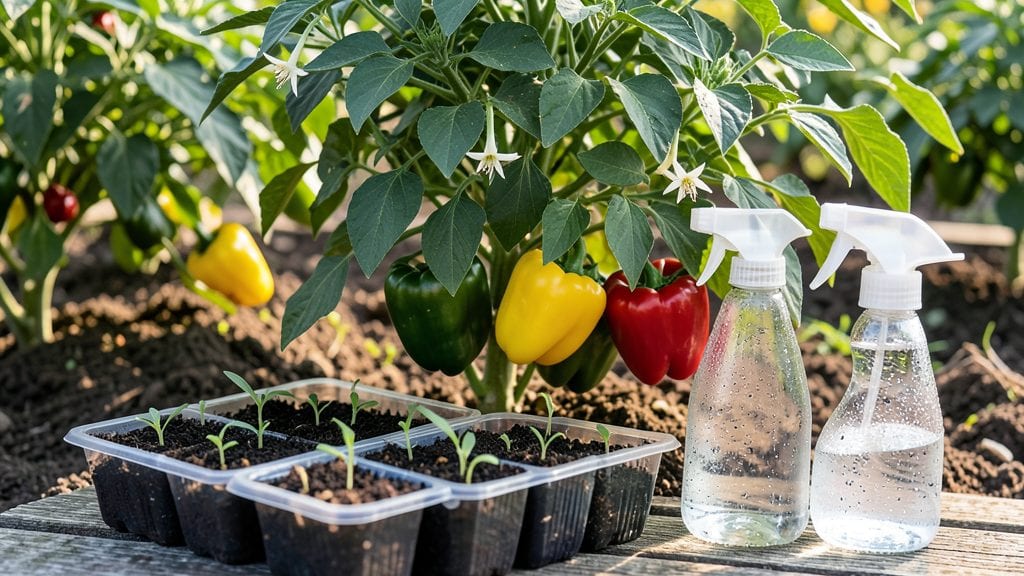
Propagating pepper plants from cuttings lets you multiply your favorite varieties without buying new plants—just a sharp pair of scissors and a sunny windowsill. 🌱 I learned this trick after killing a dozen seedlings my first year, and now I’ve got a thriving collection of jalapeños, bell peppers, and ghost peppers that all trace back to one original plant.
The process is simpler than it sounds: take 4- to 6-inch stem cuttings from healthy plants, strip the lower leaves, and dip them in rooting hormone (optional but helpful). Plant them in moist potting mix, cover with a plastic bag to hold humidity, and keep them warm.
Most cuttings root in 2-4 weeks, and once they do, you’ll have sturdy plants ready to transplant.
What you end up with is a garden bursting with peppers that match your exact taste—sweet, spicy, or everything in between. The best part? These homegrown plants often produce earlier and more abundantly than store-bought ones, since they’re already adapted to your climate.
Plus, you’ll save money and avoid the disappointment of nursery plants that never quite live up to their labels.
Works just as well for backyard gardens, containers, or even a sunny kitchen counter. The key is patience—rooting takes time, but the payoff is worth it. Let’s get those cuttings growing!
📚 In This Guide
- What you need
- Instructions
- Tips and common mistakes
- Wrapping up and next steps
What you need
- ● Pepper plant cuttings: 4–6 healthy, non-flowering stems (4–6 inches long) with 2–3 leaf nodes each.
- ○ Rooting hormone: (Optional but recommended) A gel or powder to boost root growth (e.g., Rootone).
- ● Well-draining potting mix: A blend of 50% perlite or vermiculite and 50% peat moss or coco coir (sterilized).
- ● Small pots or trays: 3–4 inch diameter pots or a seedling tray with drainage holes.
- ● Plastic bags or domes: To create a humid environment (e.g., clear plastic wrap or a propagator lid).
- ● Spray bottle: Filled with room-temperature water for misting.
- ● Sharp, sterilized scissors or pruning shears: To make clean cuts and prevent disease.
- ● Labeling tags: To track pepper varieties (e.g., Jalapeño, Bell, or Habanero).
- ○ Heating mat: (Optional) Keeps roots warm (70–75°F) for faster growth.
- ● Grow lights: If natural light is limited (12–16 hours/day).
- ● Fungicide: (e.g., neem oil) to prevent mold or rot.
- ● Hydrogen peroxide (3%): Diluted (1:10 ratio) to sterilize cuttings and tools.
Step-by-Step instructions for propagating pepper plants from cuttings
Here's my foolproof method for growing new pepper plants from healthy cuttings—no fancy tools required.
🌱 Step 1: Select and Prepare Healthy Cuttings
Choose non-flowering stems from your healthiest pepper plants—look for 4-6 inch sections with 2-3 leaf nodes. Use clean, sharp scissors or pruners to cut just below a node at a 45-degree angle. This angled cut increases surface area for root growth.
Remove all but the top 2-3 leaves—fewer leaves mean less moisture loss while roots establish. Strip any leaves from the lower half of the stem so it can focus energy on root development. I like to dip the cut end in rooting hormone (optional but helpful) before planting.
💧 Step 2: Set Up the Rooting Medium
Fill a small pot with moistened perlite or vermiculite—these materials stay airy while holding enough moisture for roots to form. The mix should feel like a damp sponge, not dripping wet. I use a 4-inch diameter pot for each cutting to give roots room to spread.
Make a hole with your finger about 1-2 inches deep and insert the cutting so the node is just below the surface. Gently press the medium around the stem to secure it without compacting. Place the pot in a warm, bright spot with indirect light—direct sun can overheat the cuttings.
☀️ Step 3: Maintain Ideal Conditions for Root Growth
Keep the rooting medium consistently moist by misting lightly every 2-3 days—never let it dry out completely. Cover the pot with a clear plastic bag to create a humid environment, but remove it daily for 10 minutes to prevent mold. Roots typically form in 3-6 weeks, depending on temperature.
Watch for new growth on the top leaves—that's your sign roots are developing below. If the leaves yellow or wilt, reduce humidity slightly or move to a brighter spot. Once roots reach 1-2 inches long, your cuttings are ready to transplant into soil.
🪴 Step 4: Transplant Rooted Cuttings
Fill a 6-inch pot with well-draining potting mix and dig a hole deep enough to bury the rooted cutting up to its first set of leaves. Gently remove the cutting from its perlite, shaking off excess but keeping roots intact. Place it in the hole and firm soil around the base to eliminate air pockets.
Water thoroughly until moisture runs from the drainage hole, then place in bright, indirect light for a week to help it adjust. After 7-10 days, gradually introduce it to full sun. Your new pepper plant will start growing vigorously within 2-3 weeks.
Tips & tricks for perfect pepper plant propagation
Here's what I learned after propagating hundreds of pepper cuttings—these small tweaks make all the difference between success and disappointment.
Cutting Selection: Look for stems that are pencil-thick but not woody—about the size of a standard wooden pencil. Avoid stems with flowers or fruit as they'll divert energy away from root development. I've found that morning cuttings work best because the stems are fully hydrated from overnight watering. Confession: I skipped this step for years and wondered why so many cuttings failed!
The Angle Matters: That 45-degree angle cut in Step 1 isn't just decorative—it creates more surface area for roots to emerge. Use a sharp knife or pruners to make clean cuts, and always cut just below a node. I like to dip my finger in water before making the cut to prevent the stem from sealing too quickly. Real talk: The first time I tried cutting straight across, my success rate dropped by nearly 50%.
Rooting Medium Secrets: Perlite and vermiculite are ideal because they stay airy while holding moisture, but you can also use a mix of half perlite and half coconut coir for better moisture retention. The medium should be damp like a wrung-out sponge—if water drips out, it's too wet. I've had great success using clear plastic cups with drainage holes punched in the bottom for individual cuttings. Between us, don't reuse rooting medium from failed attempts—it can harbor mold spores.
Humidity Control: That daily 10-minute break from the plastic bag in Step 3 is crucial—it prevents mold while maintaining humidity. I've found that placing the covered pots on a tray of pebbles with water creates a natural humidity dome. Watch for condensation on the plastic—if it's heavy, you might need to reduce humidity slightly. Don't make my mistake: I once kept a cutting covered continuously for days, and it developed black mold before I noticed.
Pro Tips for Propagate Pepper Plants
- Here's what I learned after propagating hundreds of pepper cuttings—these small tweaks make all the difference between success and disappointment.
- Cutting Selection: Look for stems that are pencil-thick but not woody—about the size of a standard wooden pencil.
- The Angle Matters: That 45-degree angle cut in Step 1 isn't just decorative—it creates more surface area for roots to emerge.
Frequently asked questions
Got questions about propagating pepper plants? You’re not alone! Here are answers to the most common queries to help you grow like a pro.
How long does it take for pepper cuttings to root?
Most pepper cuttings take 2–6 weeks to root, depending on humidity, temperature, and variety. Keep them in a warm, moist environment (70–80°F) and check for new growth—roots will form before leaves sprout! Patience is key, especially with slower varieties like jalapeños or bell peppers.
Can I propagate peppers from store-bought plants?
Yes, but with caution! Store-bought peppers are often treated with growth inhibitors or sprayed with fungicides. Rinse cuttings thoroughly, let them dry for 1–2 hours, and root them in sterile soil. For best results, propagate from homegrown or organic plants to avoid chemical interference.
What’s the best time of year to take pepper cuttings?
The ideal window is late spring to early summer (after the last frost but before extreme heat). Peppers thrive in warm soil (60–85°F), so avoid winter cuttings—they struggle to root. If you’re in a mild climate, you can experiment in early fall, but success rates drop as temperatures fall.
Why are my pepper cuttings turning yellow or mushy?
Yellowing or mushy stems usually signal rot or overwatering. Ensure cuttings have 1–2 nodes underwater (not buried) and use a well-draining mix like perlite + peat. Reduce humidity if mold appears, and avoid soggy soil. If roots rot, trim the healthy part and propagate again—sometimes they bounce back!
Can I propagate peppers from seeds instead of cuttings?
While cuttings preserve parent traits, seeds offer genetic diversity and are easier for beginners. Start seeds indoors 8–12 weeks before the last frost, using a seed-starting mix. Peppers germinate best at 75–85°F. Cuttings are faster for identical plants, but seeds let you experiment with heirloom or hybrid varieties.
Wrapping up and next steps
Propagating pepper plants from cuttings is a rewarding way to expand your garden while saving money and ensuring healthy, disease-free starts! 🌱 With the right tools, patience, and care, you can grow thriving plants that yield flavorful peppers for years to come.
Whether you're a beginner or seasoned gardener, this method opens the door to endless possibilities—so roll up your sleeves and get ready to watch your green thumb shine.
Now that you’re armed with the know-how, take the next step: pick your favorite pepper varieties, gather your supplies, and start rooting those cuttings today. Your future harvests (and taste buds!) will thank you.